Saturday, September 10, 2011

Chop (Miter) Saw Station

I can fully say that I have caught the woodworking fever. You could have probably said this after I built my first two pieces of furniture to include my Entertainment Center that I previously blogged about. I think the sure sign of the woodworking fever is 1) the desire to buy woodworking tools 2) the desire to build of my woodworking shop. Both expensive and time consuming projects but well worth it when I can produce really good looking woodwork.

My most recent project was a Chop Saw Station inspired by the New Yankee Workshop.


The main goal here was not only to build a station to make my Chop Saw more functional but also to get some practice on joinery techniques. The primary techniques used here were a standard glue with brad nails and a new one for me, biscuit joinery.  I think it came out pretty well so let me know what you think.


The intent here was to minimize the amount of space that the Chop Saw Station would take up so I made it able to break down and be stowed away. The stand is actually a Black and Decker Workmate Combo that I bought a few years ago that the Chop Saw Station can clamp to using the built in clamps. This cut down on the weight of the station because there was no added weight for the legs.


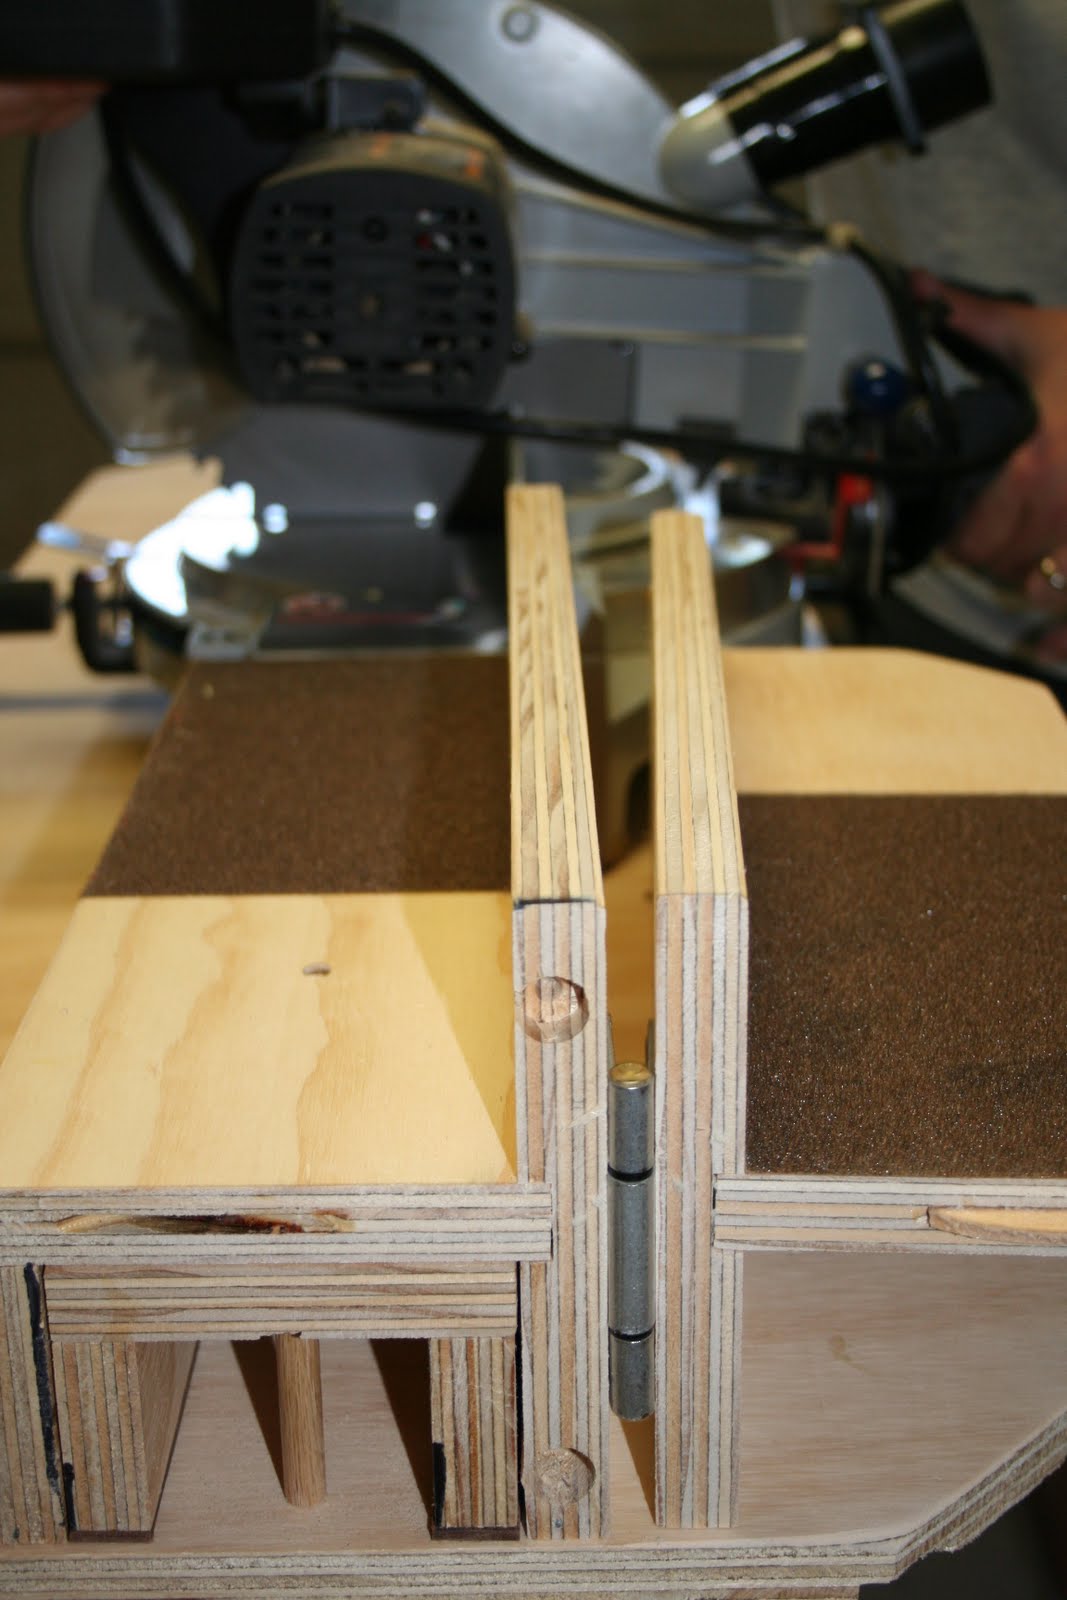
I also included arm extensions that fold out for longer pieces of wood. The brown patches are sandpaper that I glued in place to add a little friction for work pieces to be held in place. The back boards allow for a clamping surface to hold pieces in place or to add a stop block for multiple cuts. I also still have the option of a measuring tape reference on the back board but I'll save that for another day.

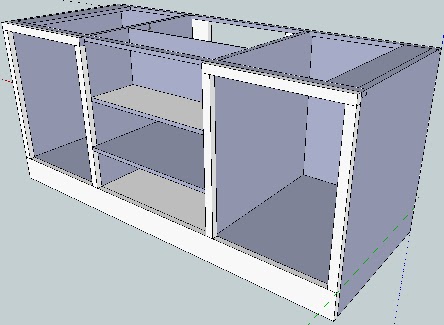
This project was a lead up to my next project a Mobile Work Table with Extensions based on two different projects I found in a couple of Woodsmith Magazines


Sunday, June 5, 2011

Stowable Router Table

So it is a stretch to say that I am still running a Blog but here I am adding some content. Something about being an IT in the Navy makes it very difficult to be motivated to jump on a computer for a extended time once I escape work and get home but here I am. I have had some time to do some woodworking and thought I would share my latest project.

So my awesome In-Laws were gracious enough this year to buy me a Porter Cable Router (You guys are way too good to me) and I have been itching to try it. I figured the best to way to get a feel for how to use my router and make it even more functional was to build a router table. 

My original plan was to build a complete router table but after finishing the table top with insert it dawned on me that being that I am limited on space it might be a good idea to make the router table actually fit in my tiny garage. The router table top itself is 32" x 24". 


The router table is made completely from scratch with the only purchased parts being the Phenolic Router Plate by Woodpeckers, T-Track by Incra, Accessory Power Switch by Woodriver, and a few dust collection fittings. To build the table top I used a 1/2" piece and 3/4" piece of MDF laid on top of each other. The base is made from 2X4s pieced together into a basic frame with foldable legs.


This was definitely a figure it out as I go project. Here is the finished product in all its glory.


As you can see in the photo I used my workbench as the back support to the table while using the bench clamps to hold the router table in place. This configuration makes the router table stable while ensuring I can easily stow the router table when not in use.


Friday, December 24, 2010

Movie Review - Scott Pilgrim vs The world

So wow it has been awhile again since I have had a chance to blog. Enjoying holiday vacation with the family has been a great chance to relax and spend time with my loving family with a chance to disconnect myself from a keyboard or computer monitor. But alas comes the itch to get back to a computer this time for pleasure not work (does that sound creepy - not an opportunity for "that's what she said" right?).


Scott Pilgrim Vs The World is quite the little gem that should not be missed. My wife and I rented this movie and only 5 minutes into it knew we had to buy it. Is it the dialogue, is it the music, is it the old school video game homage, or just a great movie overall - Yes. Michael Cera plays Scott Pilgrim which is a perfect fit.  I don't think there is a Michael Cera movie out there that hasn't at least been entertaining if not great. The premise is that slacker / Bass player / socially awkward / awesomeness pursues his dream (literally) girl but to win her he must defeat her evil "XXXXXXX"s - can you say FIGHT!!! Watching Scott Pilgrim Vs The World ended up in at least two purchases - The blu-ray and the soundtrack. Scott Pilgrim Vs The World is also based on a comic book series by Bryan Lee O'Malley which looks worth checking out. This will definitely be a movie to watch again and again.

Monday, October 25, 2010

And the entertainment center is finished

So it only took me 2 months of on and off woodworking (plus months of planning - hey there was a move across multiple state lines in there) but I have finally finished my brand new entertainment center. This required a great deal of balancing family time, new job, and sanity but I was able to get the new entertainment in the house and everything installed over the weekend. I'm actually quite pleased with the end product. 

This is a view from our landing. Note the coffee table also made by me.
I was trying to go with a similar look but you can see the
differences as I was learning my craft.
This is a top view with the lid slid forward. I still have to pull out the unit for major
maintenance but the lid is handy for quick disconnects and troubleshooting.
I also including extra cooling via usb fans (bought these via Coolerguys.com).


Nice little front view. The height is a lot better than our setup before.
Actually makes the TV (Sony Bravia 52" HDTV) look bigger.

This is a shot with the doors open. Quite a bit of unused space right now.
 I still need to go back and make some shelves for the XBOX and Wii.
Also may install internal drawers in the empty space. The upper center area hides a
center speaker and power strip accessible from the top.


Still a bit of a jumble in here but I didn't want to tie wrap too much until
I get the additional shelves in. The picture actually makes it look worse
than it actually is.

It feels really great to be done but the wifey and I are already planning out the next couple of projects (another end table and dress-up rack). This is good news because it means a upgrade to some of my tools due to my skill set outgrowing my current tools and I because I actually broke a few of my tools (beginner tools used at their limits). I'll post my other projects once they get done (couple of years down the road). Definitely welcome some tips for what I could do better with  next time.

Tuesday, October 12, 2010

Entertainment Center by Me!!!

Hand Crafted (Did I mention by Me) Entertainment Center
From Concept to Garage to Living Room (Soon)


Most of the work and finishing is done. I still have to make a few of the shelfs and figure out what the plan is for the spare space in the cabinets (placing an XBOX 360, MEDIC PC, and Wii). Mostly going to put some internal drawers or us baskets. As soon as I get it it in the house, HDTV mounted, and gadgets populated, pictures to follow.